One of the best things about owning a Tesla is that it feels like a constantly evolving tech toy. But let's be honest — that standard gray or white vehicle graphic on the screen gets stale after a while and starts feeling a bit "boring."
Those who know me are aware that I'm a die-hard car culture enthusiast. I'm especially a hardcore fan of the aggressive, "tire-shredding" Gymkhana spirit created by Ken Block (may he rest in peace) and the Hoonigan crew. Even while playing Forza Horizon, those iconic liveries are always my go-to. Seeing that same energy on my Tesla's screen became an obsession.
"How do I put that aggressive Hoonigan design on the car displayed on my screen?" — I got fixated on this question and got to work.
Design Process: AI and Testing Phase
So how did I get this "Hoonigan/Monster Energy" themed graphic? This is where it gets really fun and modern.
Instead of searching for random, low-resolution images online, I used AI image generation tools to create exactly what I had in mind. I described my vision — "Monster Energy logo, gray-black camo, Ken Block inspired Model Y" — and the AI delivered amazing options.
However, there's a catch: not every AI-generated image maps perfectly onto Tesla's 3D model (UV map). To avoid a distorted look, I tested the designs using preview sites like tesla-wrap.com before uploading. These sites let you see how the design wraps around the car's contours.

The Technical Adventure Begins
Design was ready, tests were done. But the real adventure was getting Tesla's notoriously "picky" operating system to accept the file. I tried and failed a few times — the car saw the USB but wouldn't recognize the file — but eventually cracked the formula.
Step 1: USB and Folder Setup
Plug the USB drive from your glovebox into your computer. In the root directory, create a folder named Wraps.
⚠️ Capital "W" and ends with "s". If you write wraps or skins, the car will never see the file.
Step 2: Image Requirements (The Critical Part)
Tesla's OS enforces strict rules. Your image must meet all 3 criteria:
📁 Format: Must be .png format.
📐 Resolution: Must be perfectly square — ideal size is 1024x1024 pixels.
📦 File Size: Must be under 1 MB! My first high-quality images were 2-3 MB and the car wouldn't list them. Once I compressed to around 900 KB, it recognized them instantly.
hoonigan_wrap.png.
Step 3: Installing on the Car
Plug the USB into the car → Open Toybox menu → Select Colorizer → You'll see a USB icon or "Custom" tab in the color palette. Tap it, select your image, and boom! 🎨
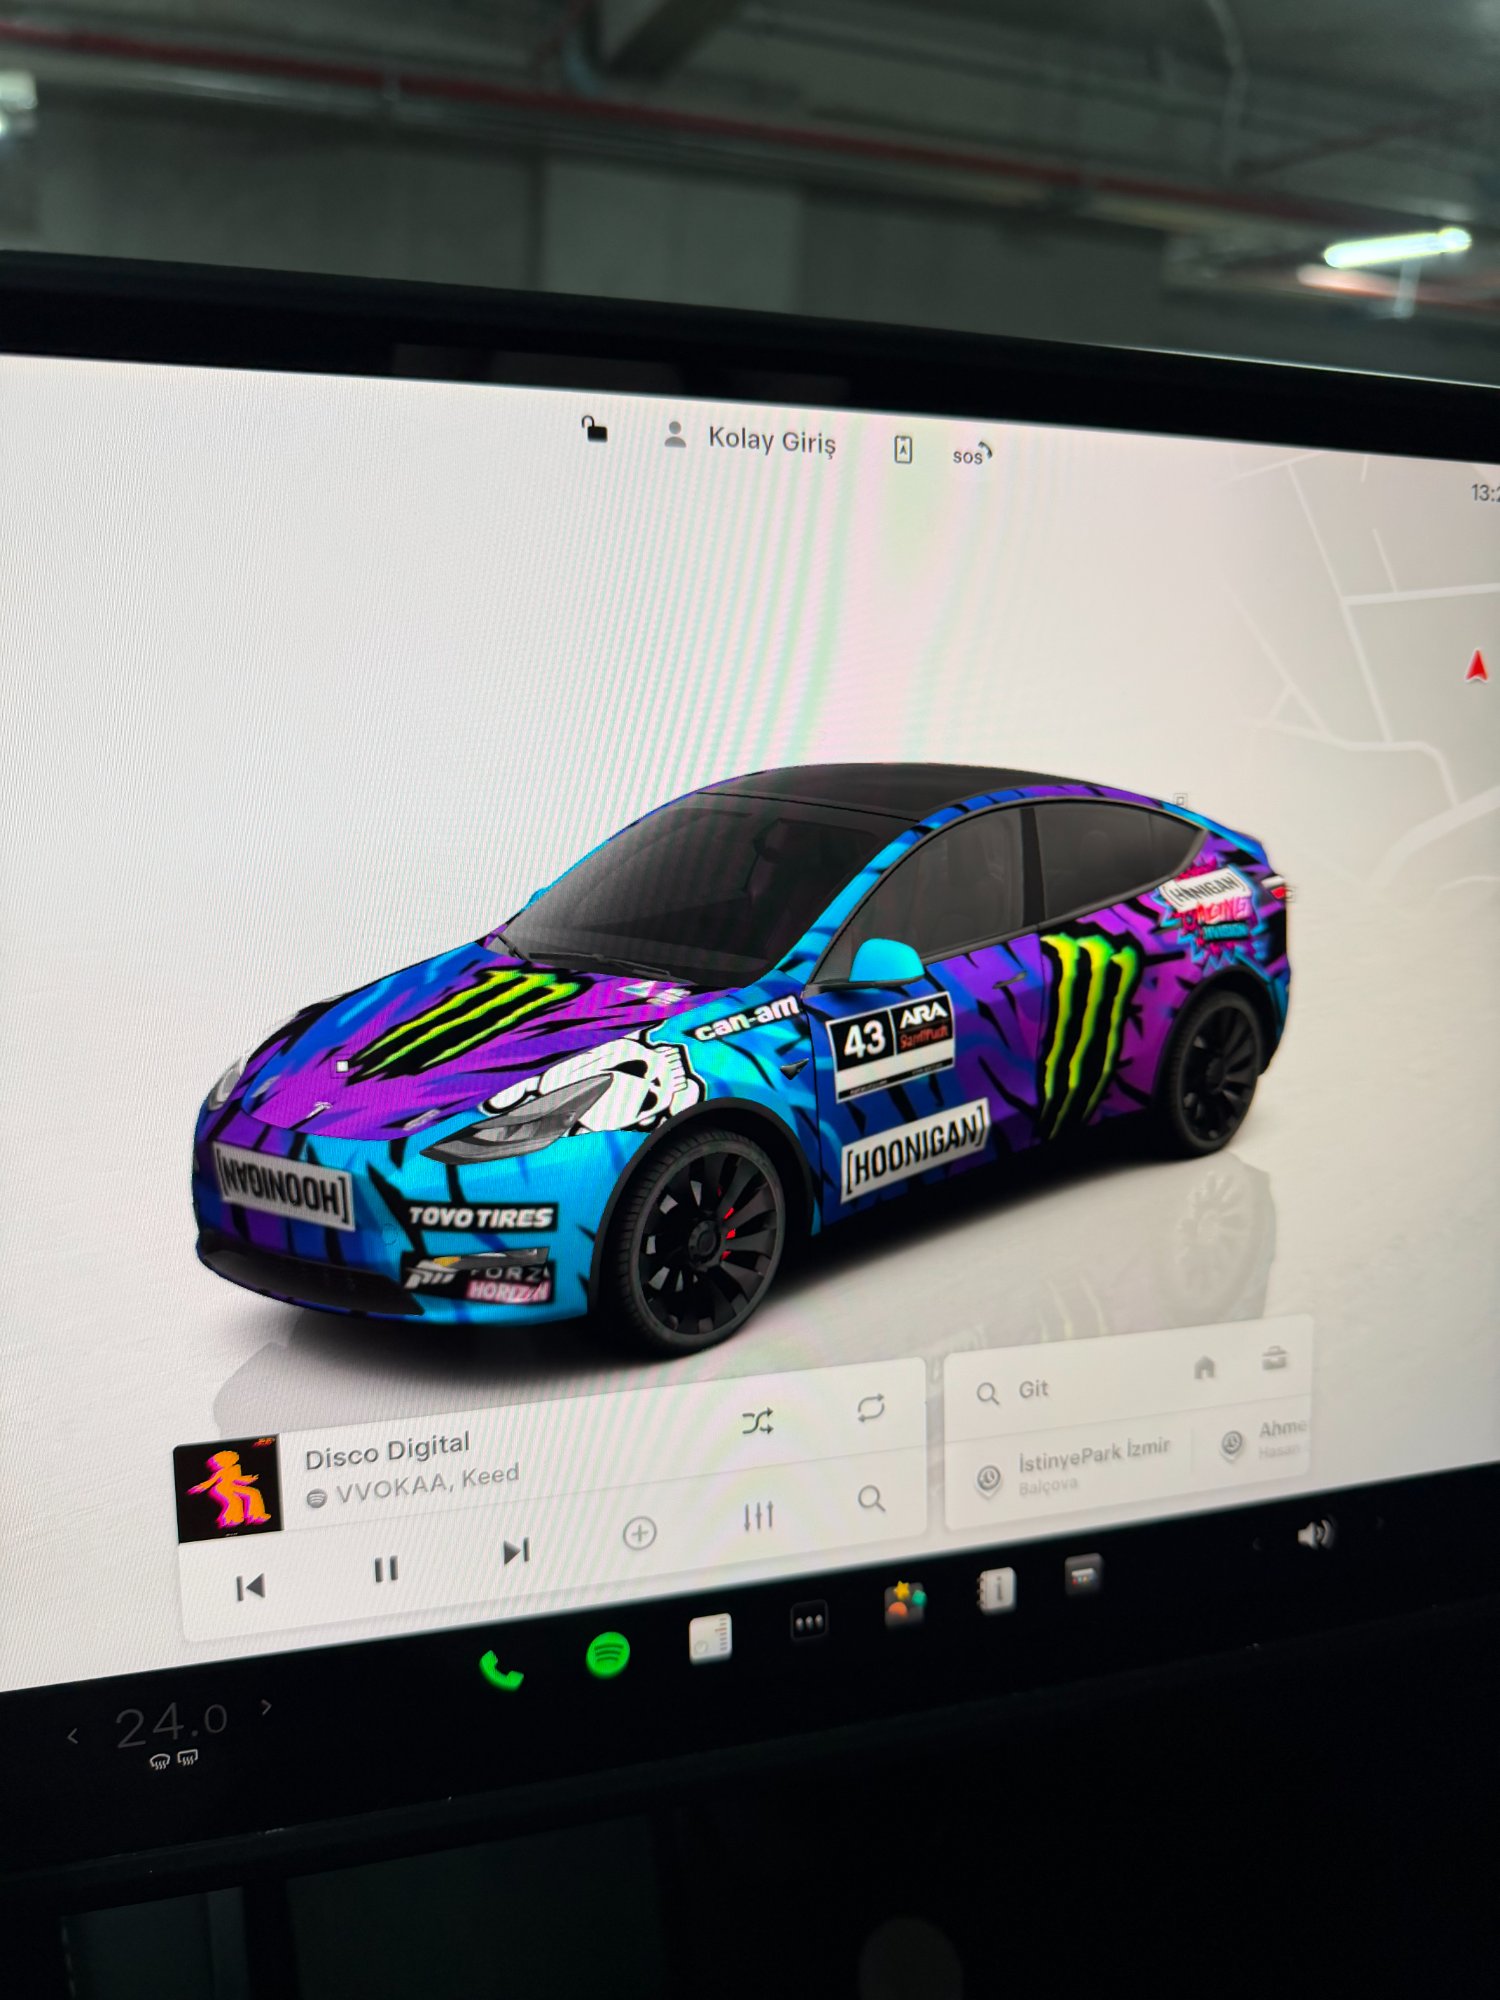
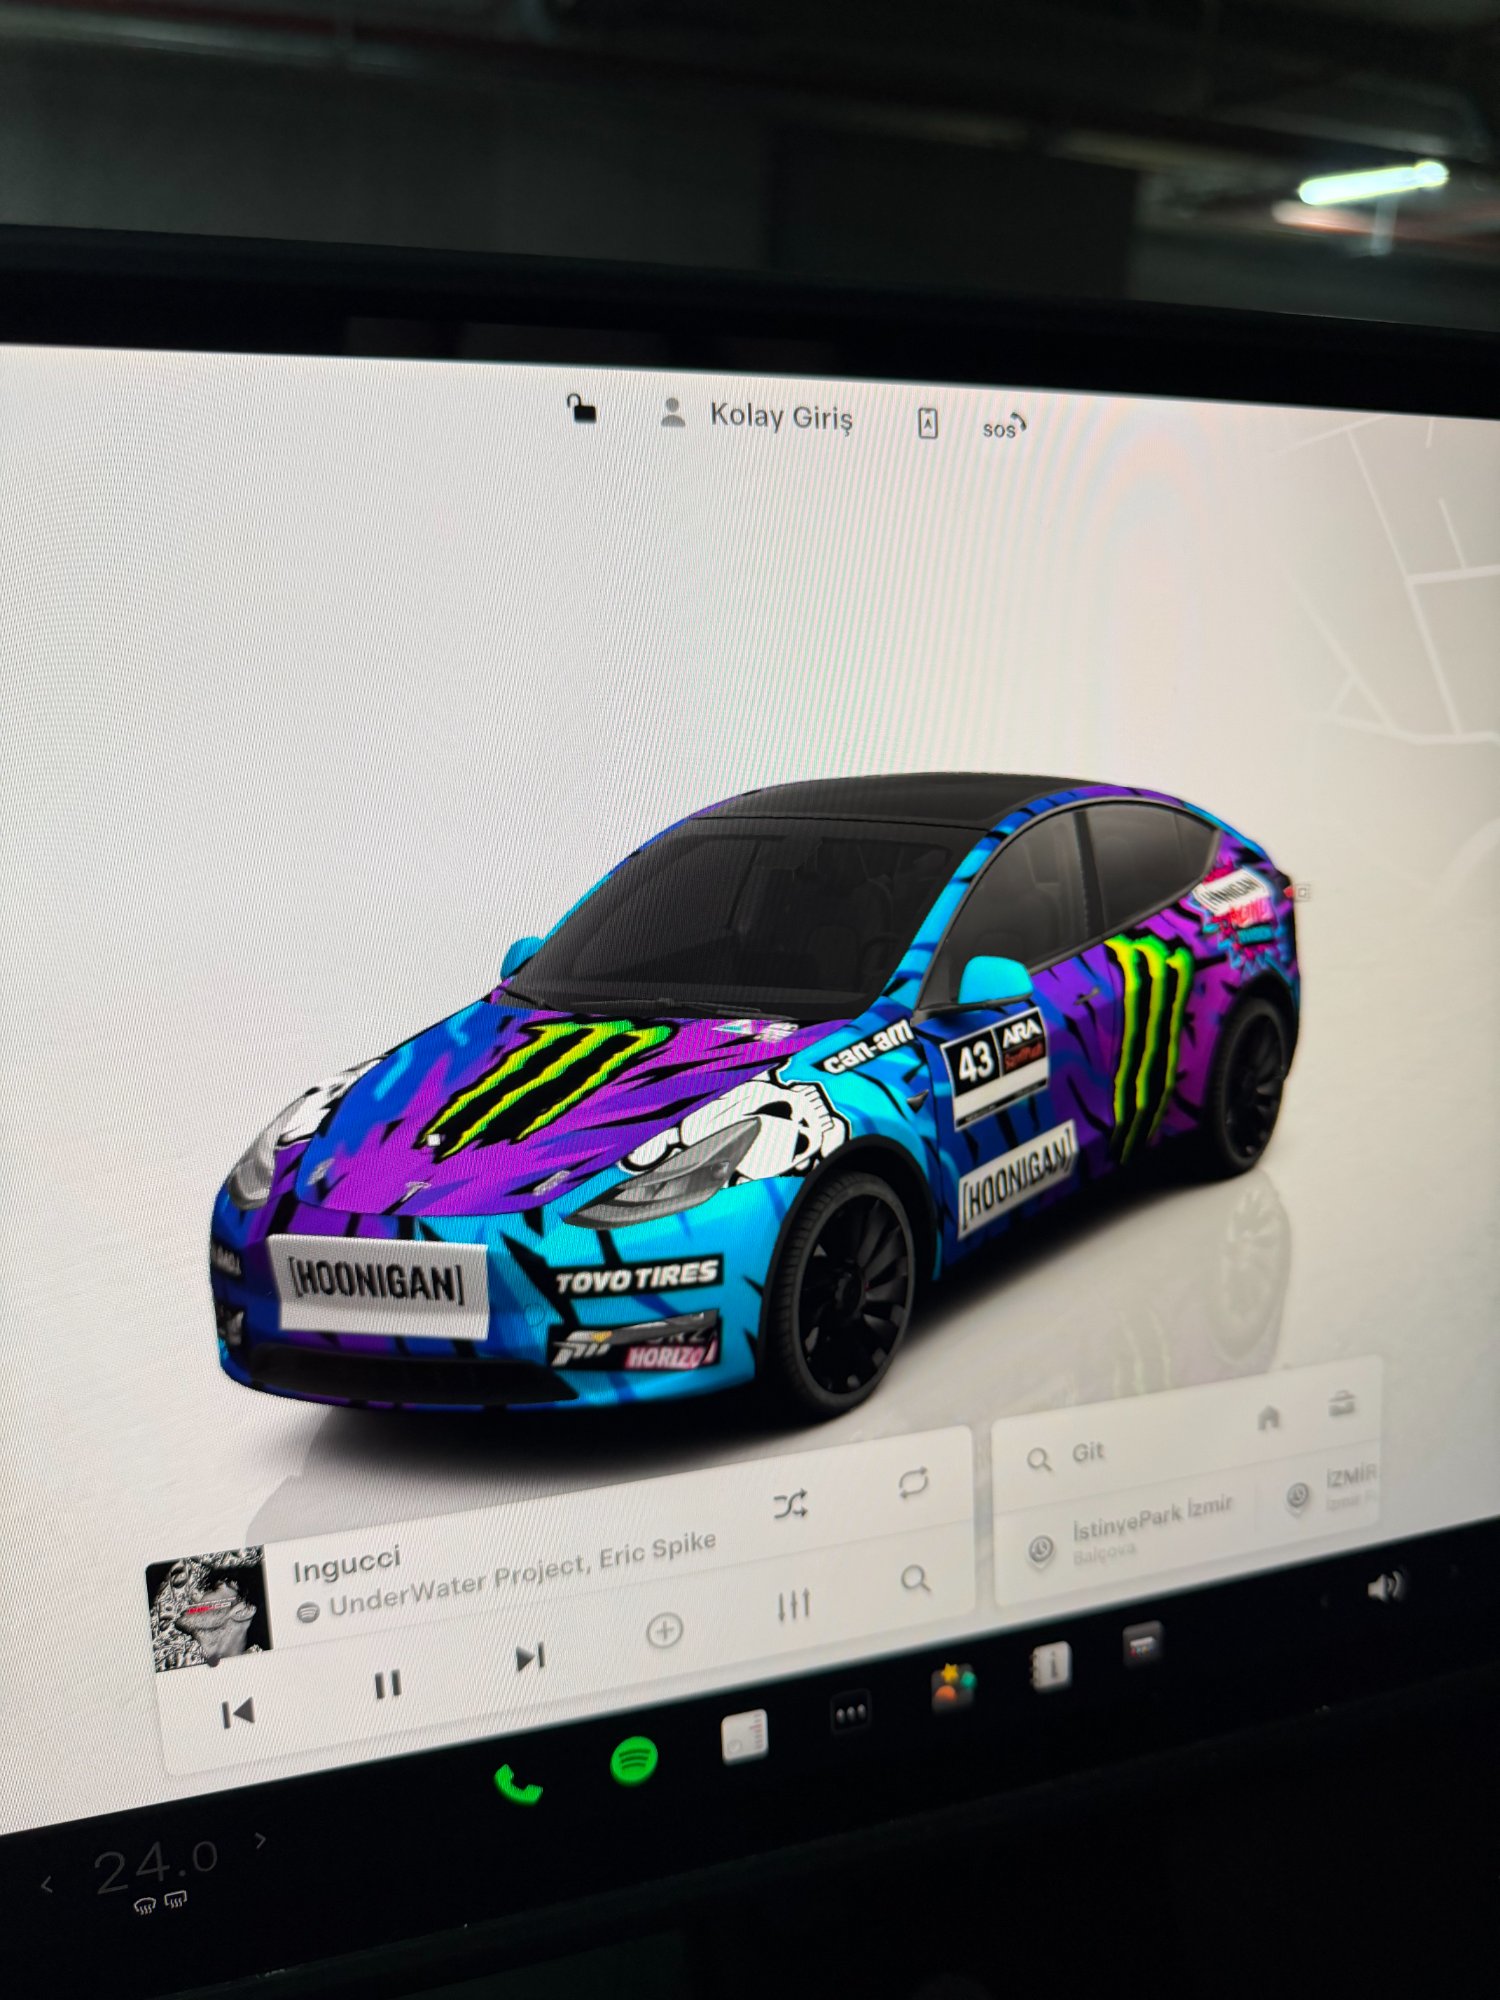
The Result: Like a Gymkhana Video
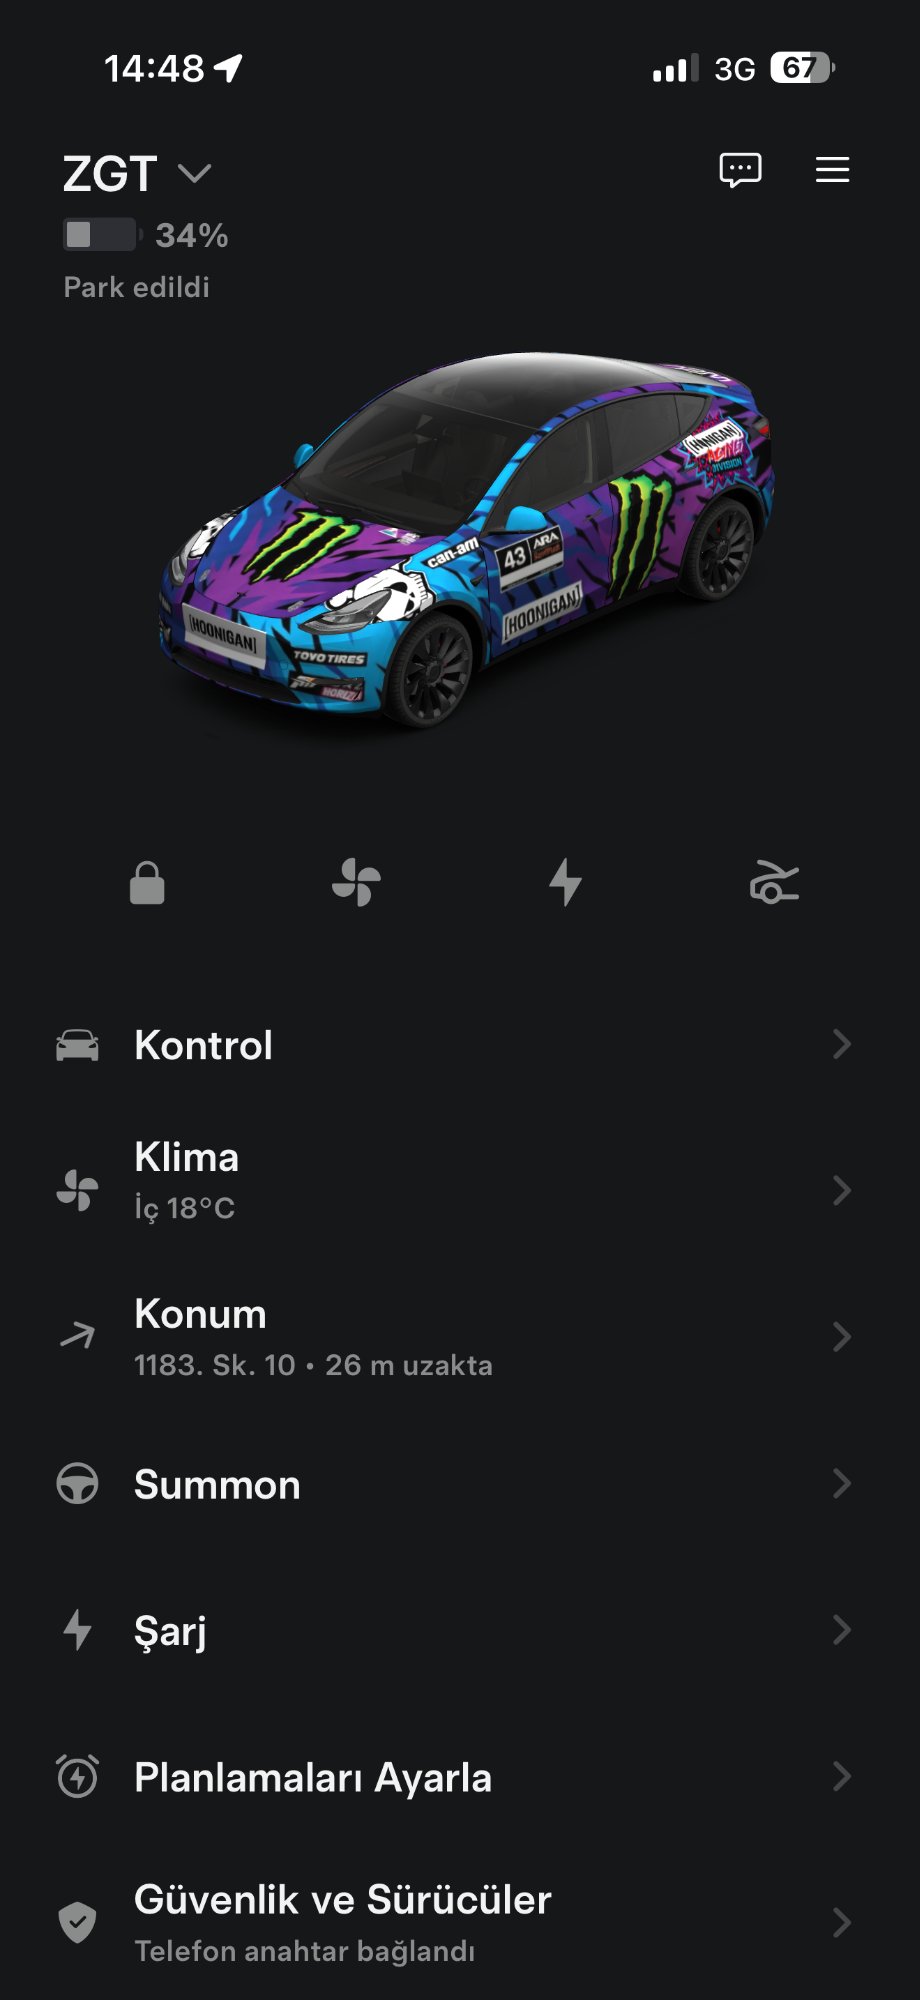
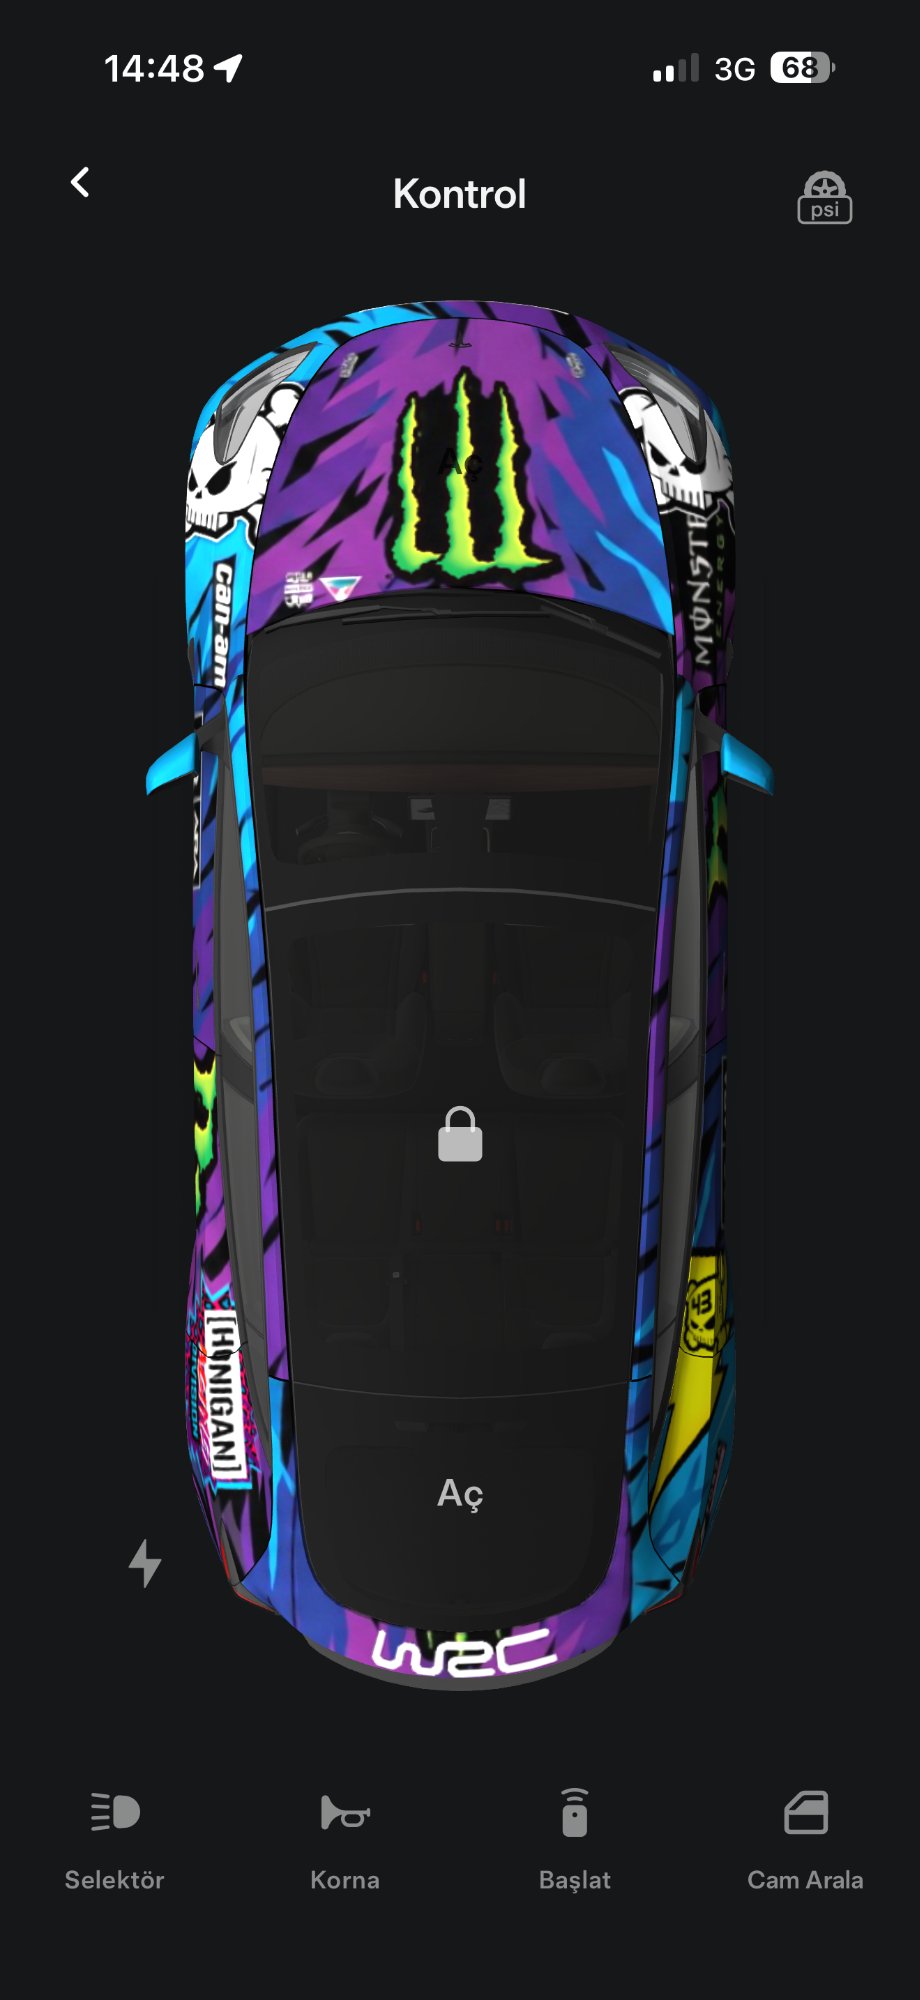
The result is absolutely stunning. Now, every time I get in my car, instead of that standard white Model Y, a beast that looks like it just rolled out of Ken Block's garage greets me. Especially when the doors open and that Hoonigan-wrapped car rotates on screen — it wipes away all the day's stress. As if we're about to shoot a Gymkhana video...
It's a small touch, but the vibe it adds to the driving experience and the car's soul is priceless!
Video: Here's How It Looks 🎬
Happy driving, stay Hoonigan! 🤘
Let's talk about Tesla and automotive
Get in touch for vehicle customization, fleet management, or sales strategies.
Contact Me